Creating Consumer dApps on Morph: Integrating Offchain Data using Pyth Price Feeds.
Why Oracles?:
In decentralized applications, smart contracts are designed to execute transactions and logic autonomously. However, their functionality is inherently limited to the blockchain’s own data. For many applications, this is a significant constraint. To create a truly effective and interactive dApp, developers often need to incorporate real-world information that resides outside the blockchain.
Take, for example, a dApp designed for financial trading. Imagine you’re building a decentralized trading platform where users can make trades based on the latest cryptocurrency prices. For the platform to function correctly, it needs real-time price feeds from various exchanges. Without access to this offchain data, your smart contract can’t accurately reflect current market conditions, which could lead to faulty transactions and a poor user experience.
Or consider a decentralized insurance platform that calculates payouts based on weather data. If you’re offering insurance against natural disasters, your smart contract needs up-to-date weather information to determine if a claim is valid. Without reliable offchain weather data, the smart contract can’t make informed decisions, potentially leading to disputes and operational failures.
This is where oracles become indispensable. Oracles serve as bridges between the blockchain and external data sources, fetching and delivering crucial information to your smart contracts. They allow your dApp to react to real-world events and make decisions based on accurate, timely data.
In this tutorial, we’ll walk you through integrating Pyth oracles with your dApp. We’ll demonstrate how to pull real-world data into your smart contracts, enabling you to build applications that are not only functional but also responsive to the fluid nature of external information.
Objectives
By the end of this tutorial, you should be able to do the following:
- Setup environment using the Morph starter kit.
- Install Pyth contracts.
- Consume a Pyth price feed within your smart contract.
- Deploy your smart contract on Morph.
- Interact with your smart contract from the frontend.
Setting up your development environment
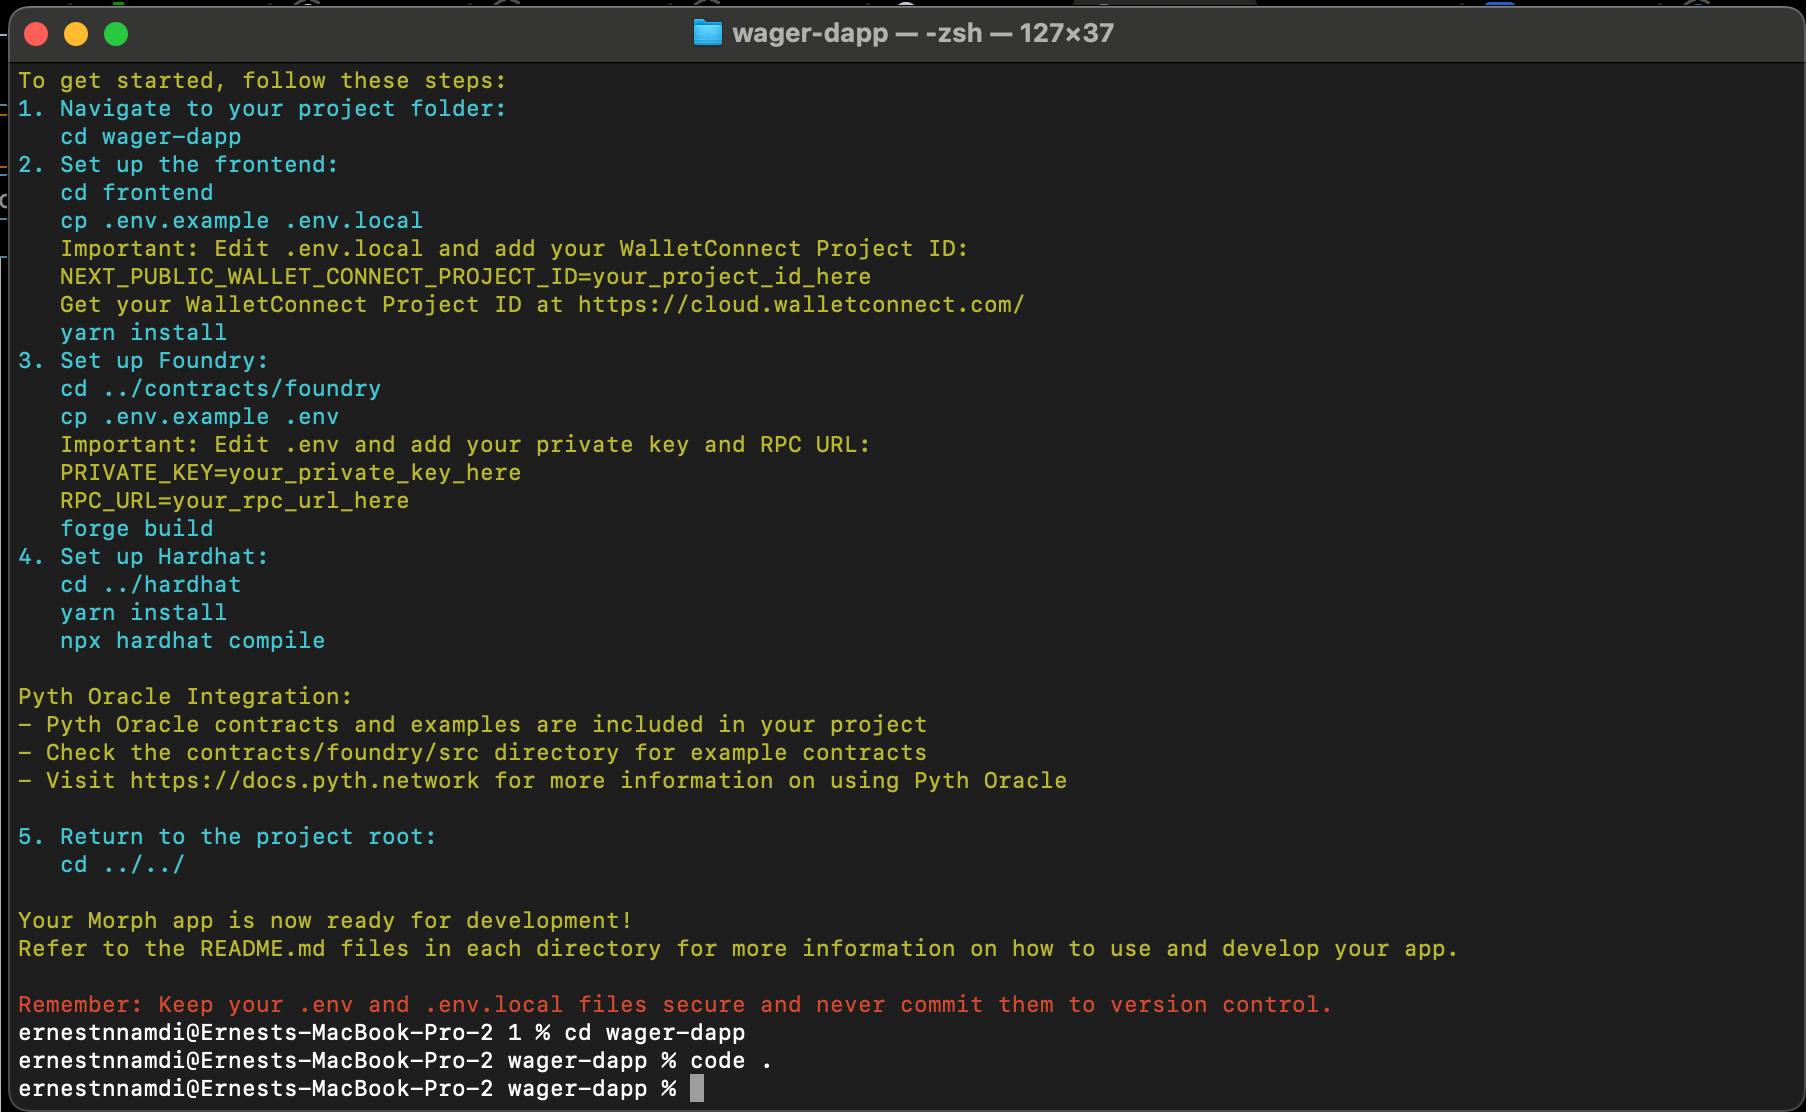
Before we begin writing smart contracts and interacting with them, we need to setup our development environment by using the Morph starter kit.
First, we create a new directory for our project. In your terminal run the following command:
Then run the command below and choose the Pyth oracle example:
- Open the downloaded kit on your IDE (vs code or any other of your choice) and in the contract/foundry folder, create a .env file. Here we are going to add our environment variables like RPC_URL and PRIVATE_KEY to enable us to deploy on Morph. Your env file should look like this:
- Run forge compile in the contract/foundry directory to download dependencies.
- Similarly in the frontend folder, create a .env file and add your projectId which is your wallet-connect ID. Refer to this guide on how to get your wallet-connect projectId
- Run the following command in the frontend directory to download dependencies and start the dApp on your local environment.
Writing and Deploying your smart contract
Installing Pyth smart contracts
Back in our contract folder, we run the following command to download the Pyth Oracle contracts as a dependency.
Once installed, we update the foundry.toml file by adding the following line:
Writing our smart contract
Once our project has been created and all dependencies installed, we can finally start writing our smart contract.
- In the contract/foundry folder, navigate to the src folder and create a new file called wager.sol.
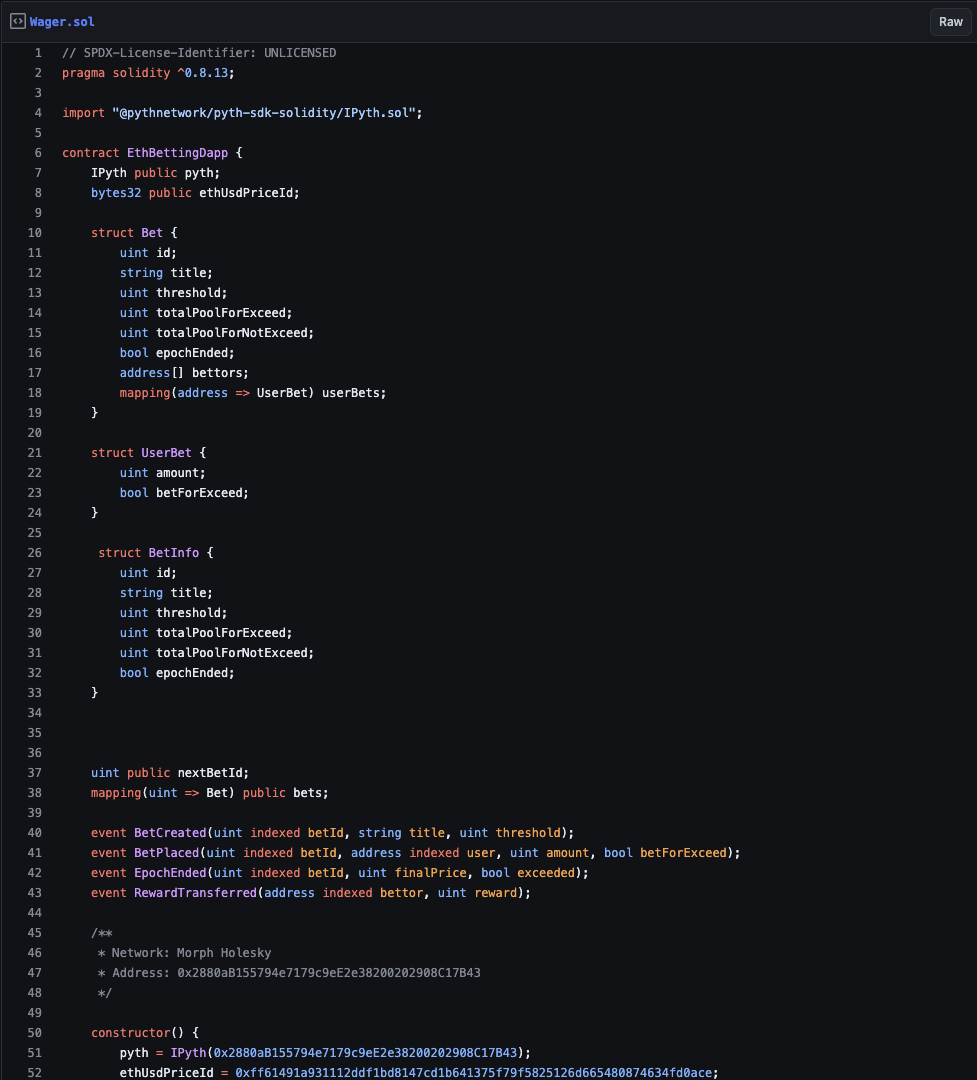
You can copy the code for our wager.sol contract from this gist.
Explaining the contract
The wager contract uses the pyth interface from the Pyth solidity SDK. The contract allows a user to bet on the outcome of the price of ETH over a given period of time. It allows users to create a bet and also stake eth on the outcome of it. For the sake of simplicity, the contract also has an endEpoch function that allows us to manually end the Epoch(duration of the bet), thus bringing the bet to a close.In the constructor, the Pyth interface expects a contract address which in this case, is the Pyth contract address for the Morph Holesky testnet.
endEpoch function
This function serves two purpose:
- Manually ends the bet.
- Interacts with the Pyth contracts.
The function takes in the pthPriceUpdate as an argument, which is the price update data needed to get updated price data. It is a signed price update that is streamed off-chain from Pyth.
“Pyth Network uses an on demand price update system where users pull on-chain prices only when needed. Read more here.”
The first Pyth function we call, is the pyth.getUpdateFee. This is the fee charged by Pyth to update the price. Next, we call the update price feeds function which updates the price and pays the fee we calculated in the previous function(getUpdateFee).
To fetch the updated price, we call the pyth.getPrice(priceFeedId) function. It takes an argument of an Id, which in our case is the ETH/USD price feed id.
(You should delete src/Counter.sol , test/Counter.t.sol and script/Counter.s.sol which were generated with the starter kit)
Deploying your contract
Deploying our contract on the Morph holesky testnet is straight forward. First we compile our smart contract by running:
Next, we create a file in the script folder named Deployer.s.sol. This is where we will write our deployment script. Paste into the file, the code below:
Afterwards, run:
This is to provision your environment variables(private key & RPC url) in your terminal.
To deploy our contract, run the following command:
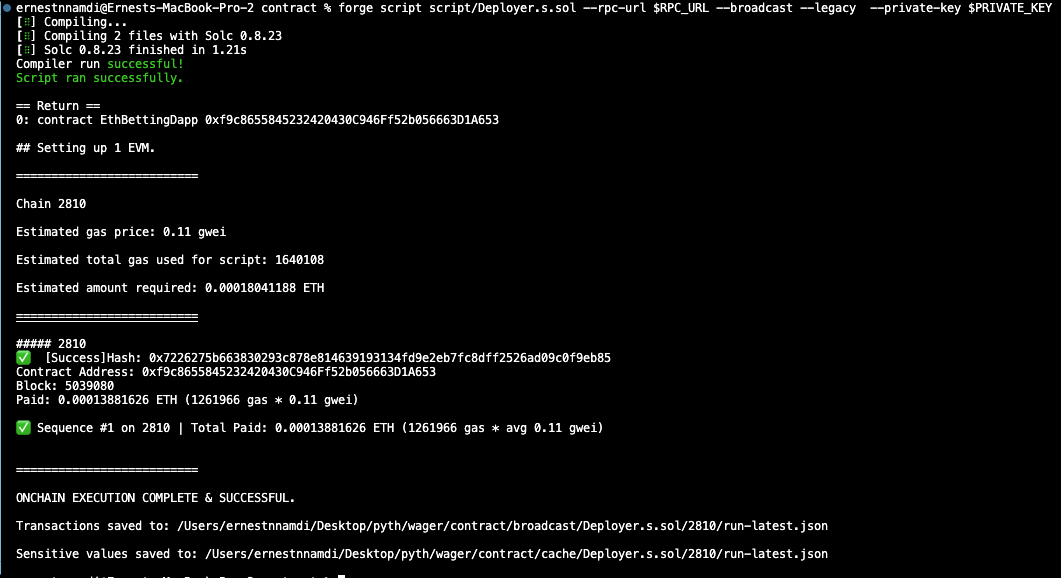
And voila! Our contract is deployed on Morph holesky testnet.
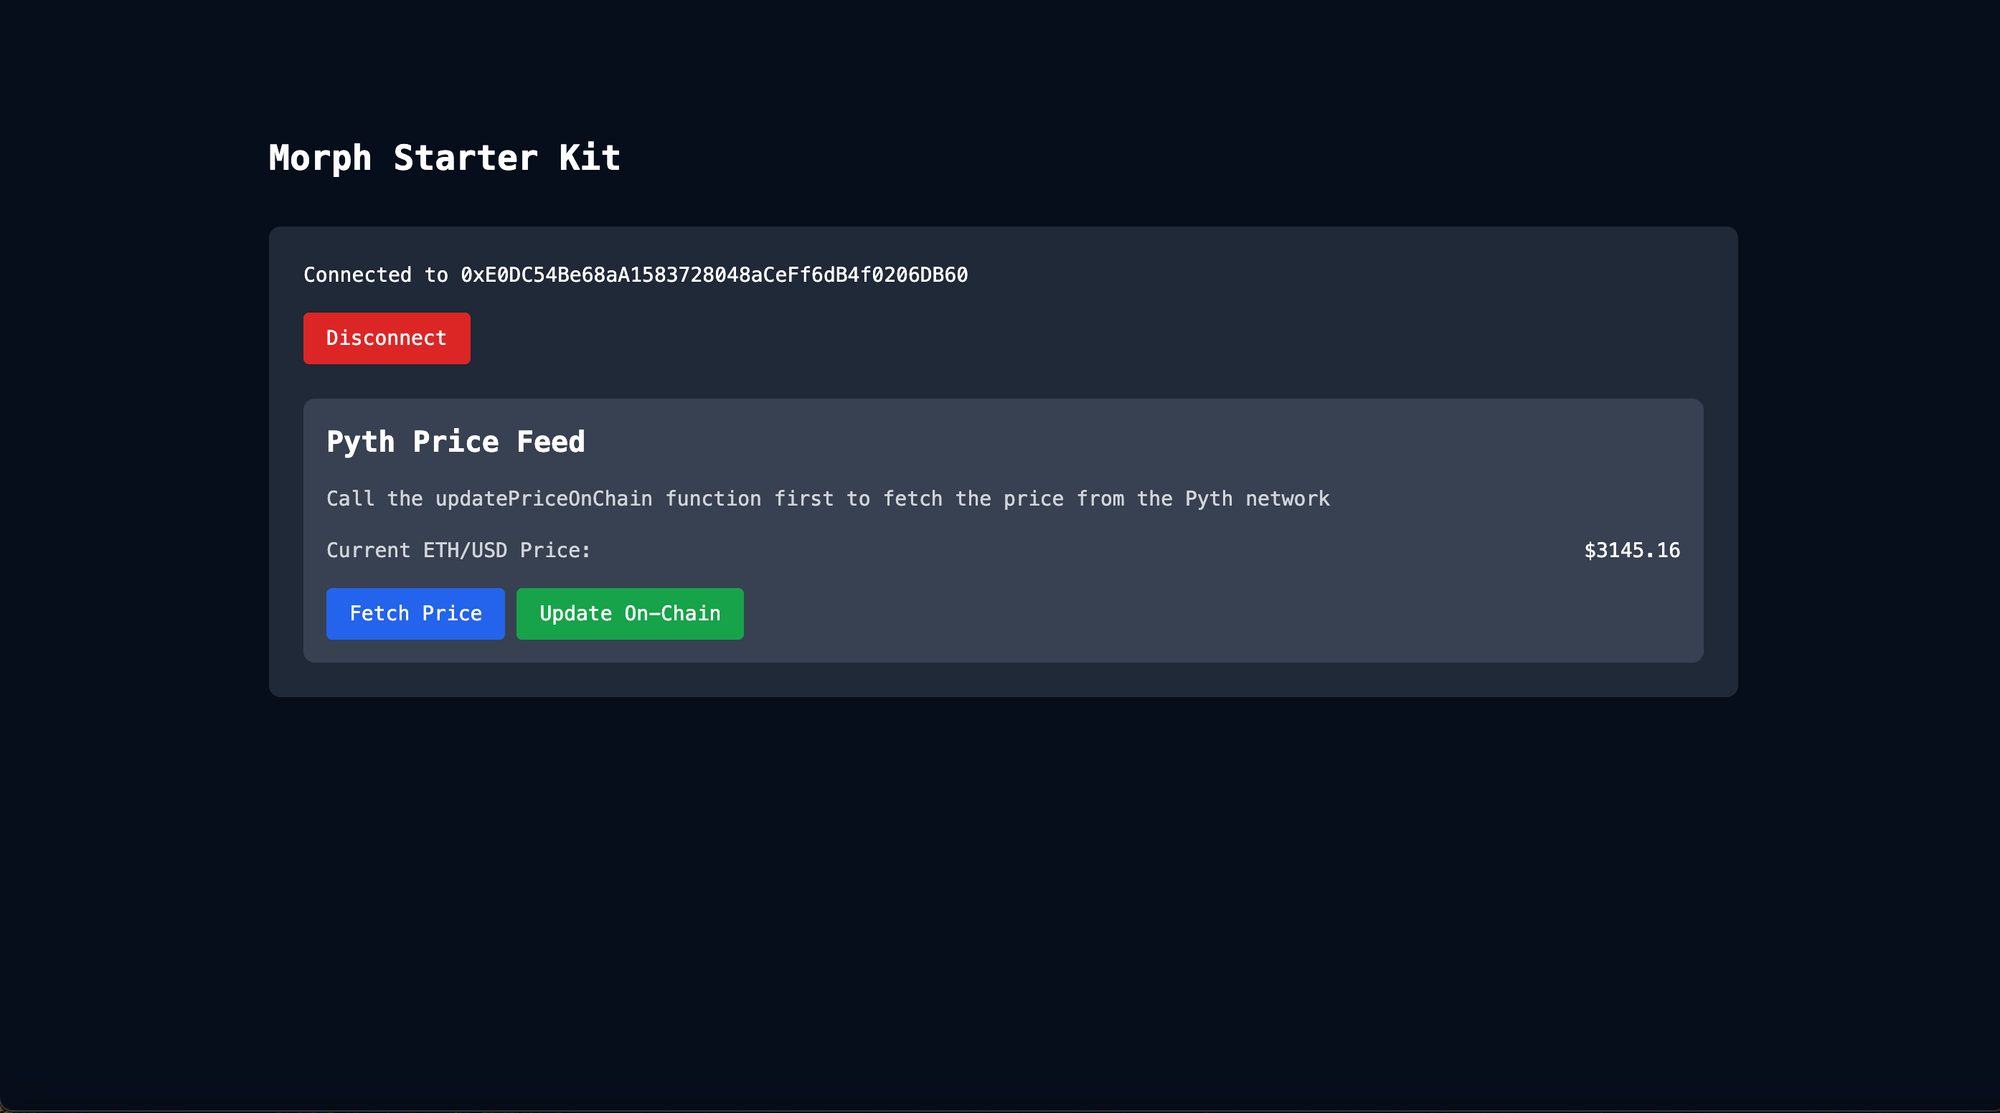
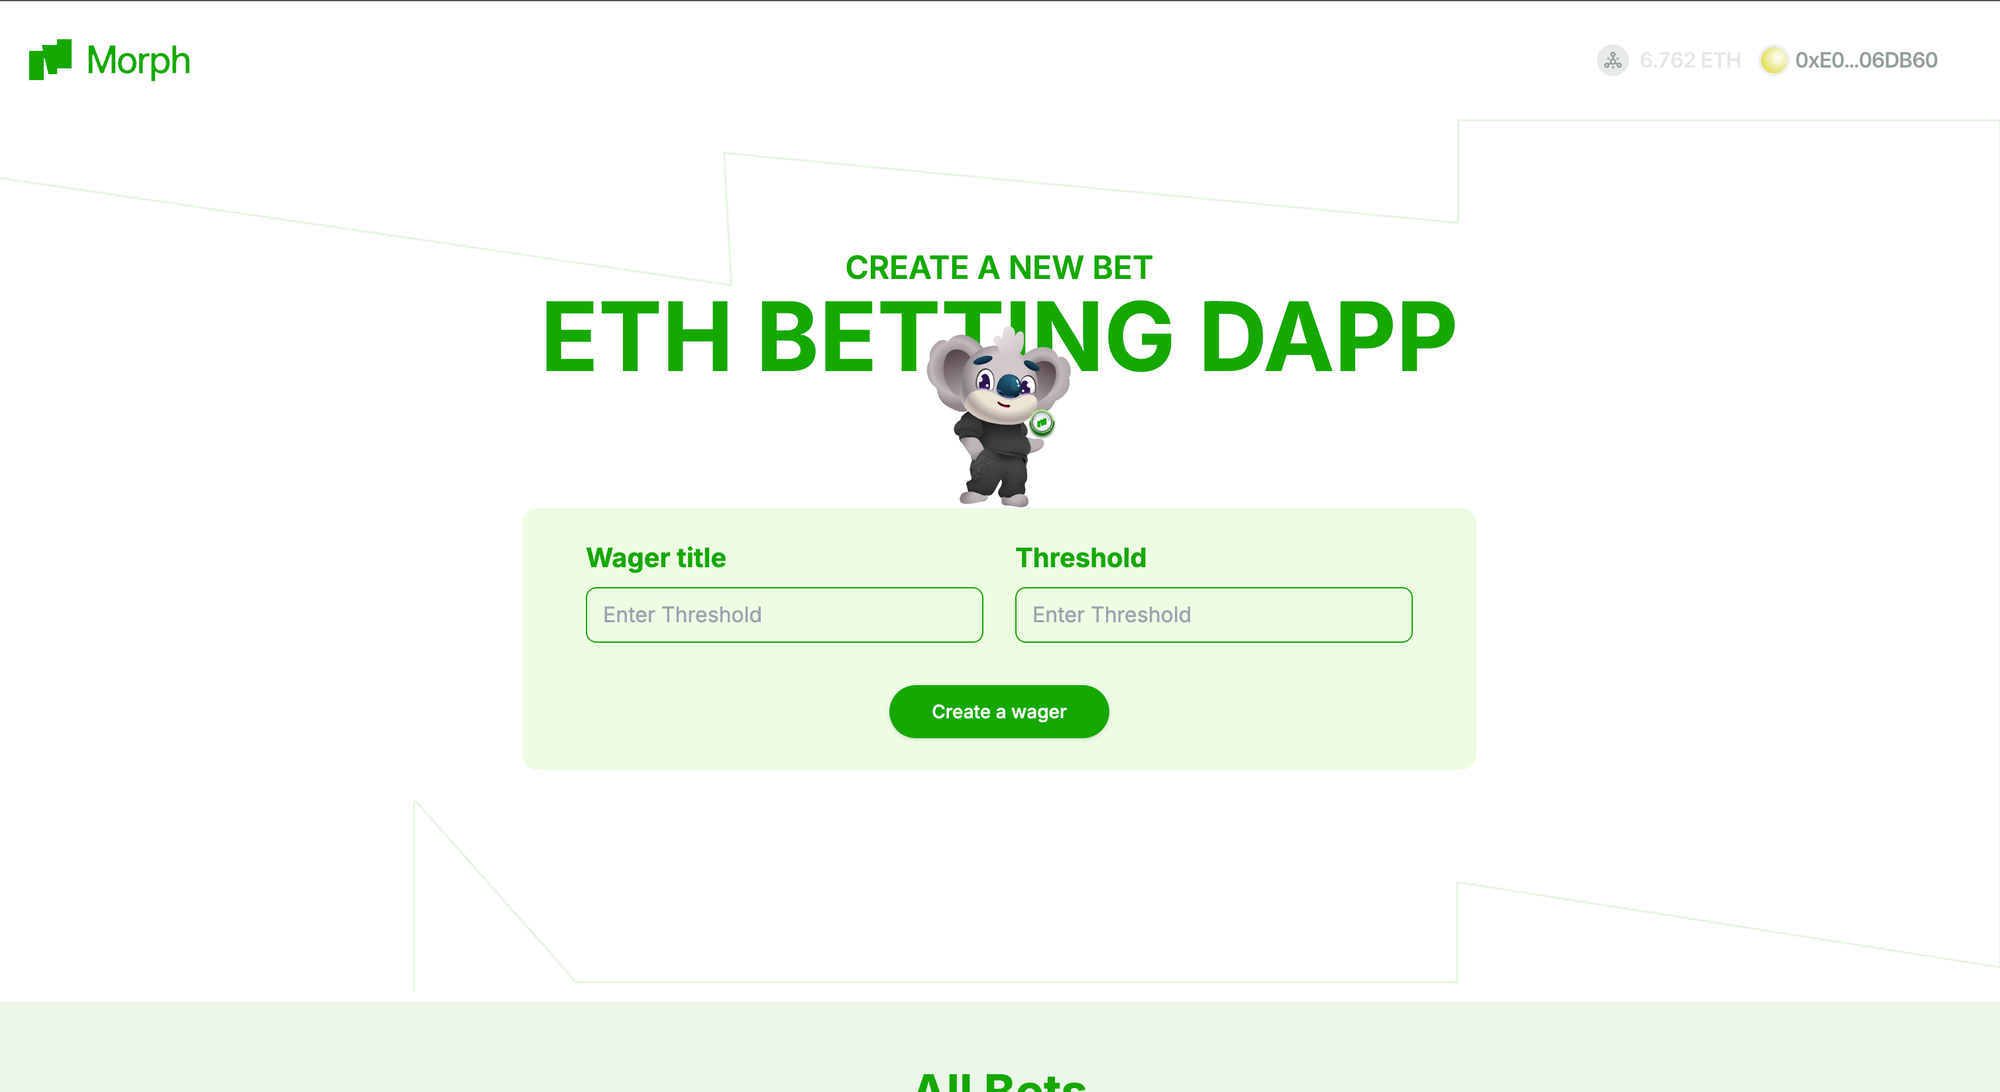
Getting started on the frontend
What are we building? we are building a dApp that allows users make bets on the future price of ETH.
Preparing Our Frontend Environment
To interact with our smart contract from the frontend, follow these steps:
- Navigate to the out folder within the contract directory and locate the wager.sol folder.
- Copy the contents of the JSON file found there and paste them into the src/constants/abi.ts file in the frontend directory. Ensure you structure the ABI as a React module and remove the bytecode details.
- Copy the ABI for our project from here.
- Copy the address of our deployed contract and paste it into the index.ts file in the constants folder.
Interacting with our contract
In our frontend folder, navigate to src/app/page.tsx. This is the homepage of our dApp and where most of the logic will be done.
Page.tsx
Open up the page.tsx file and paste in this code. We will walk through the core functions contained in this file.
Hook: useReadContract:
This hook is from wagmi, which is a react hook library for Ethereum. It enables us to read data from smart contracts.
Explanation
- Purpose: Reads the list of all bets from the smart contract.
- Output: Stores the result in the allBets variable.
- Process:
- Uses the useReadContract hook from wagmi to interact with the smart contract.
- Calls the getAllBets function defined in the contract ABI at the wagerAddress.
- Stores the retrieved bet information in the allBets variable, which can be of type BetInfo[] or undefined.
Function: createBet:
This function handles the creation of new bets.
Explanation:
- Input: Takes data containing the bet's title and threshold.
- Process:
- It uses the writeContractAsync hook to interact with the contract. The hook is destructured from the useWriteContract hook provided by wagmi.
- It calls the createBet function in our contract while taking the ABI and contract address as parameters. It logs the transaction hash if successful.
- Shows a success toast notification with a link to view the transaction on Etherscan.
- Error Handling: Catches and logs any errors, and displays an error toast notification.
Function: placeBet
This function as the name implies, allows users to place bets by staking their eth in the contract.
Explanation:
- Input: Takes betId, betForExceed (a boolean indicating the direction of the bet), and betAmount.
- Process:
- Converts betAmount to Ether using parseEther.
- Calls writeContractAsync to interact with the smart contract, specifically invoking the placeBet function with betId and betForExceed as arguments, and sending bet as the value.
- Logs the transaction hash if successful.
- Error Handling: Catches and logs any errors, and displays an error toast notification.
Function: endEpoch
This function manually ends the epoch or duration of the bet. It was created for the purpose of demonstration.
Explanation:
- Input: Takes betId.
- Process:
- Establishes a connection to the Pyth network's price service.
- Defines priceIds for fetching price updates.
- Retrieves price feed update data from the Pyth network.
- Converts a fixed fee amount (0.01 Ether) using parseEther.
- Calls writeContractAsync to interact with the smart contract, specifically invoking the endEpoch function with betId and priceFeedUpdateData as arguments, and sending feeAmount as the value.
- Logs the transaction hash if successful.
- Error Handling: Catches and logs any errors, and displays an error toast notification.
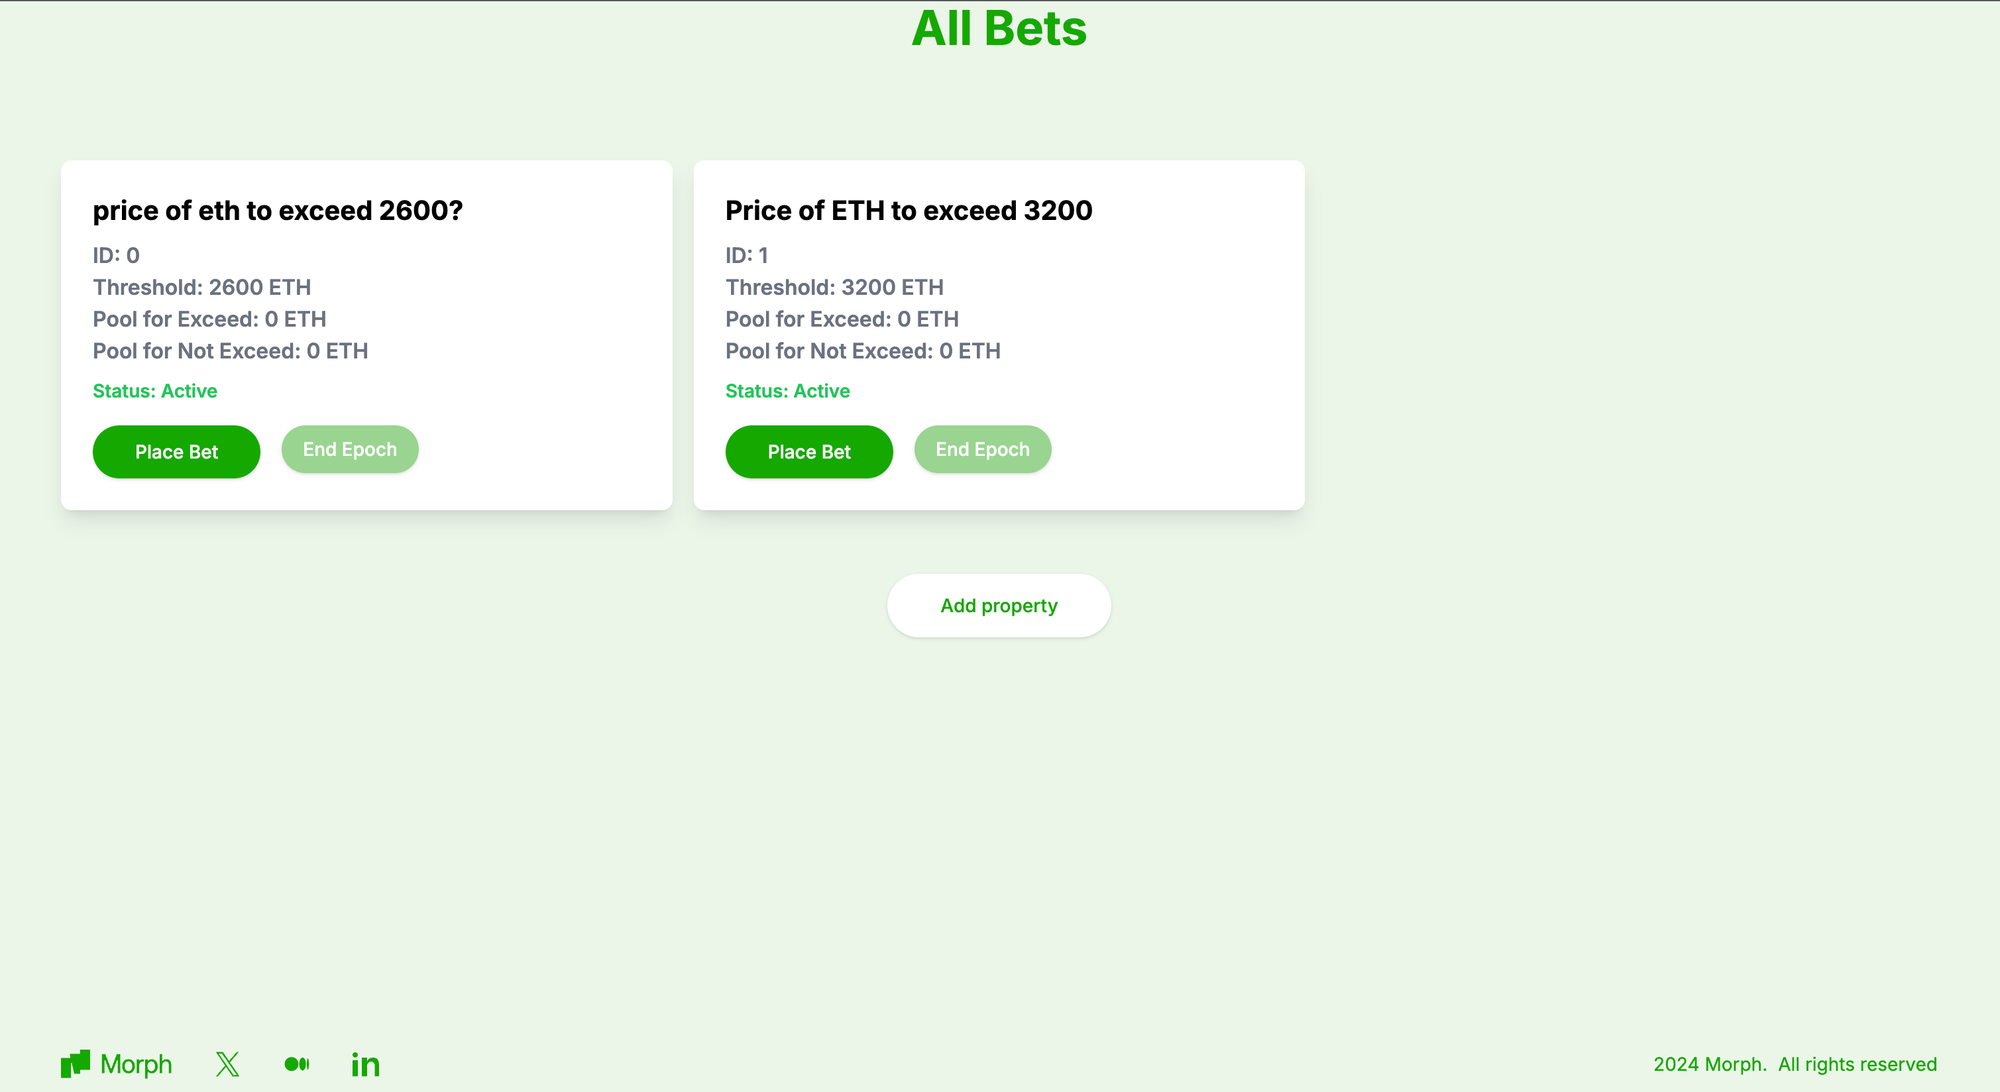
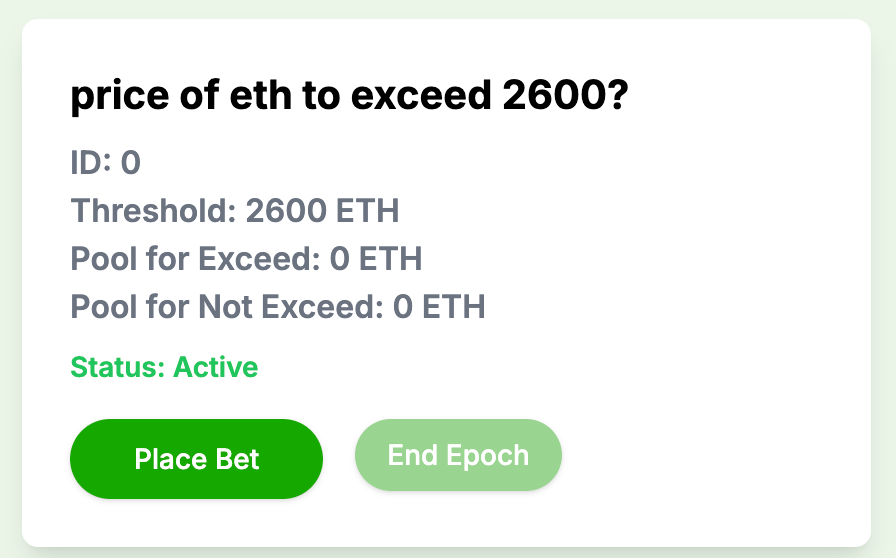
BetCard.tsx
This card displays all relevant information about our wager, and also allows us to bet or end epochs. Navigate to the src/components folder and create a BetCard.tsx file and paste in this code.
BetModal.tsx
This modal allows us to place bets and also stipulate the amount of eth we are staking with our bet.
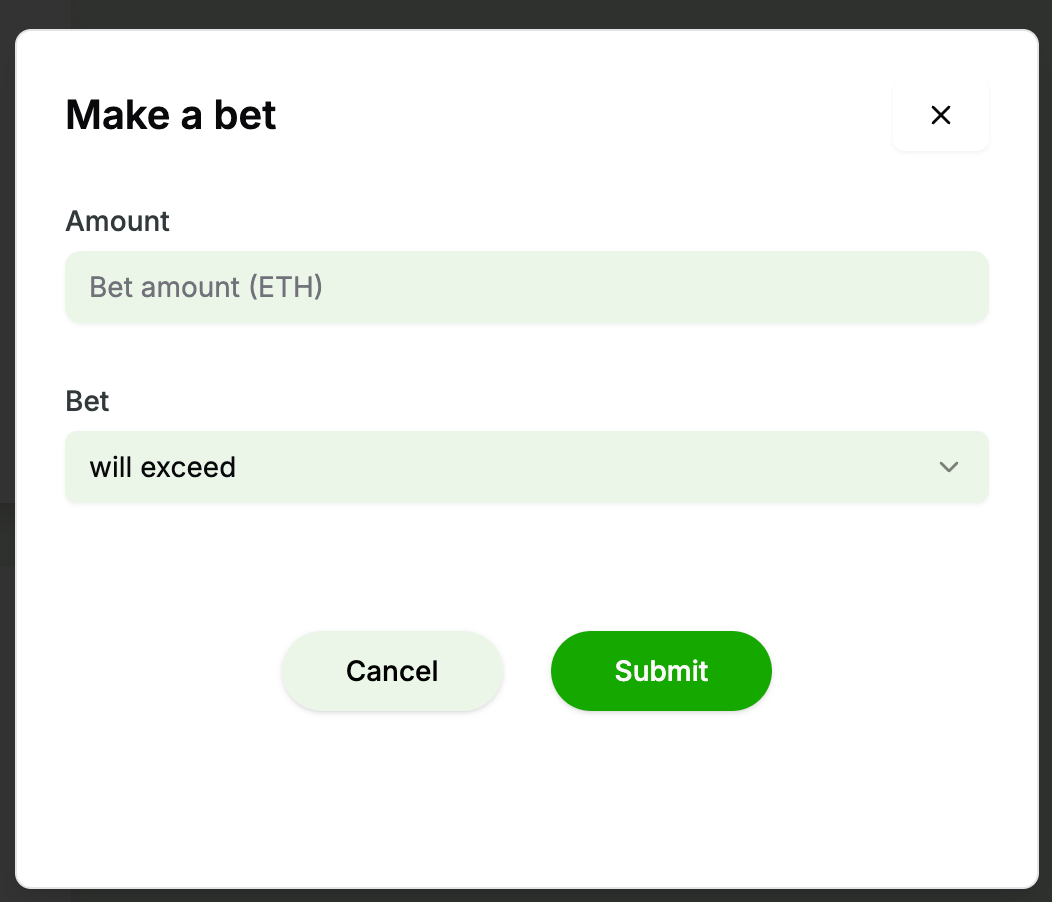
In the src/components folder, create a BetModal.tsx file and paste in this code.
Conclusion
In this guide, we have gone over how to build a dApp on Morph using offchain data from the Pyth network. We have explored how to fetch on demand data from price feeds and how to interact with them on the frontend.You can access the complete code for this project on the github repo. If you encounter any challenges, create an issue here.